Media Servers
![]() John Guan - Jul 09, 2023
John Guan - Jul 09, 2023
We know the way we consume media has undergone a significant transformation. Gone are the days when physical media like CDs and DVDs ruled the entertainment landscape. With the advent of high-speed internet connections and the rise of digital content, media centers have become essential tools for organizing, managing, and enjoying our vast collections of music, movies, and TV shows. These media centers provide a centralized hub that allows us to access and stream our favorite content from various sources, all from the comfort of our own homes.
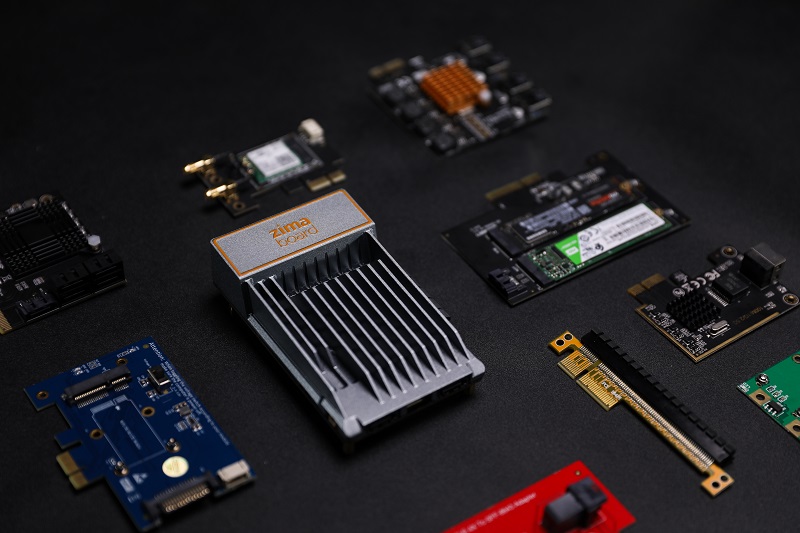
One such media center that has gained popularity among enthusiasts is JRiver Media Center. Paired with the powerful ZimaBoard hardware, JRiver offers a feature-rich and customizable media management solution. Whether you’re a music lover, movie buff, or avid TV show watcher, JRiver Media Center provides a comprehensive set of tools to organize, play, and stream your media files seamlessly.
Part 1. What You Should Know about JRiver Media Center?
JRiver Media Center is a versatile media management and playback software that provides a comprehensive solution for organizing, playing, and streaming various types of digital media. It serves as a centralized hub for all your music, movies, TV shows, and photos, offering a feature-rich interface and powerful tools to enhance your media experience. With JRiver Media Center, you can enjoy seamless access to your media collection and effortlessly navigate through your favorite content.
1. Key features and advantages of JRiver Media Center
Extensive media format support: JRiver Media Center supports a wide range of media formats, including popular audio and video formats such as MP3, FLAC, AVI, MKV, and more. This allows you to play and manage your media files without the need for additional codecs or converters.
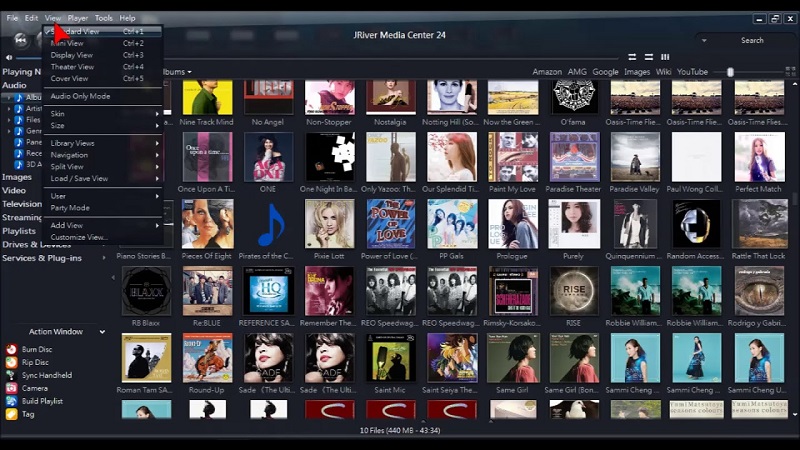
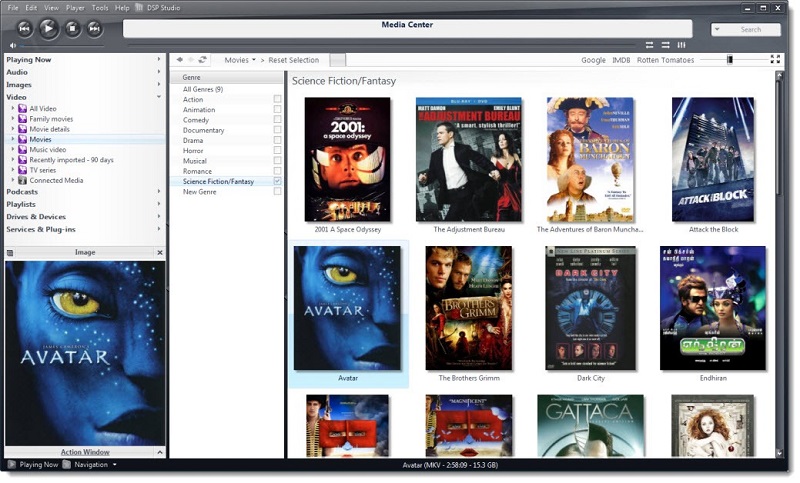
Robust media organization: JRiver Media Center offers advanced media organization features, allowing you to categorize and manage your media library effectively. You can create playlists, tag your files with metadata, and add descriptions and artwork to make your collection visually appealing and easy to navigate.
High-quality playback: With JRiver Media Center, you can enjoy high-quality playback of your media files. It supports lossless audio formats, providing an immersive and studio-like audio experience. The software also offers support for high-definition video playback, ensuring crisp and vibrant visuals on compatible displays.
Media streaming and sharing: JRiver Media Center enables seamless streaming of your media to other devices within your home network. You can access your media library remotely, stream content to compatible devices such as smart TVs, game consoles, and mobile devices, and even share your media with friends and family.
Customizable user interface: JRiver Media Center allows you to personalize the user interface according to your preferences. You can choose from various themes, layouts, and visualizations to create a unique and visually appealing media center experience.
2. The Compatibility with ZimaBoard and supported media formats
JRiver Media Center is fully compatible with ZimaBoard SBC, leveraging its powerful hardware capabilities to deliver optimal performance and seamless media playback. ZimaBoard’s robust processing power, ample storage capacity, and connectivity options make it an ideal platform for running JRiver Media Center.
ZimaBoard supports a wide range of media formats, including audio formats like MP3, FLAC, WAV, and video formats such as MP4, AVI, and MKV. This compatibility ensures that you can effortlessly import and play your media files without any compatibility issues.
Additionally, ZimaBoard’s connectivity options, including HDMI and USB ports, allow for easy connection to external displays, audio equipment, and other devices. This enables you to enjoy your media on larger screens or through high-quality audio systems, enhancing the overall media experience.
Part 2. How to Setting up ZimaBoard SBC for JRiver Media Center
1. Hardware requirements for ZimaBoard SBC
Before installing JRiver Media Center on your ZimaBoard, it’s essential to ensure that your hardware meets the necessary requirements for optimal performance. While ZimaBoard is a powerful and versatile platform, it’s important to have compatible hardware to make the most of JRiver Media Center’s features. Here are the recommended hardware requirements for ZimaBoard:
Processor: ZimaBoard is compatible with an Intel Celeron processor with a clock speed of at least 2.2 GHz or higher is recommended for smoother media playback and processing.
RAM: ZimaBoard should have a minimum of 4GB RAM to handle media management tasks efficiently. However, if you plan to work with larger media libraries or use resource-intensive features, such as transcoding, it’s advisable to have 8GB or more RAM.
Storage: ZimaBoard offers ample storage options, including onboard eMMC, SATA connectors for SSDs, and microSD card slots. It’s recommended to have sufficient storage capacity to accommodate your media library and provide enough space for future additions.
Graphics: ZimaBoard has integrated graphics capabilities, ensuring smooth video playback and graphical user interface rendering. However, if you plan to connect your ZimaBoard to a 4K display or use demanding visualizations, consider a model with more powerful graphics capabilities.
Connectivity: ZimaBoard comes with various connectivity options, including HDMI, USB ports, and Ethernet. Ensure that you have the necessary cables and adapters to connect ZimaBoard to your display, audio equipment, and network.

2. Guide to Installing JRiver Media Center on ZimaBoard SBC
Once you have ensured that your ZimaBoard meets the hardware requirements, you can proceed with the installation of the JRiver Media Center. Follow these steps to install JRiver Media Center on your ZimaBoard:
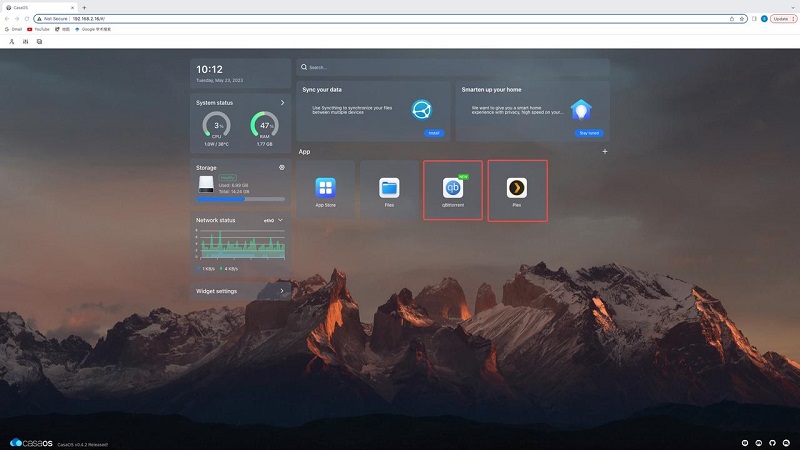
Obtain the installation package: Visit the official JRiver website (www.jriver.com) and download the appropriate installation package for your ZimaBoard’s operating system – CasaOS.

Run the installation wizard: Locate the downloaded installation package and run the installer. Follow the on-screen prompts to proceed with the installation process.
Accept the license agreement: Read the license agreement carefully and accept the terms to continue the installation.
Choose the installation location: Select the destination folder where you want to install JRiver Media Center. It’s recommended to choose a location with sufficient storage space.
Select additional components: JRiver Media Center offers additional components, such as media server functionality and remote control access. Choose the components you want to install based on your requirements.
Complete the installation: Once you have selected the installation options, click the “Install” button to begin the installation process. Wait for the process to complete.
3. Configuring JRiver for optimal performance
After the installation, it’s important to configure JRiver Media Center for optimal performance on your ZimaBoard. Here are some configuration steps to consider:
Media library setup: Upon launching JRiver Media Center, you will be prompted to set up your media library. Choose the appropriate locations where your media files are stored and let JRiver scan and index your files. This will enable seamless organization and quick access to your media.
Audio and video settings: Navigate to the settings menu in JRiver Media Center and configure audio and video settings according to your preferences. Adjust audio output settings, select the appropriate audio devices, and set up video playback options, such as screen resolution and video rendering options.
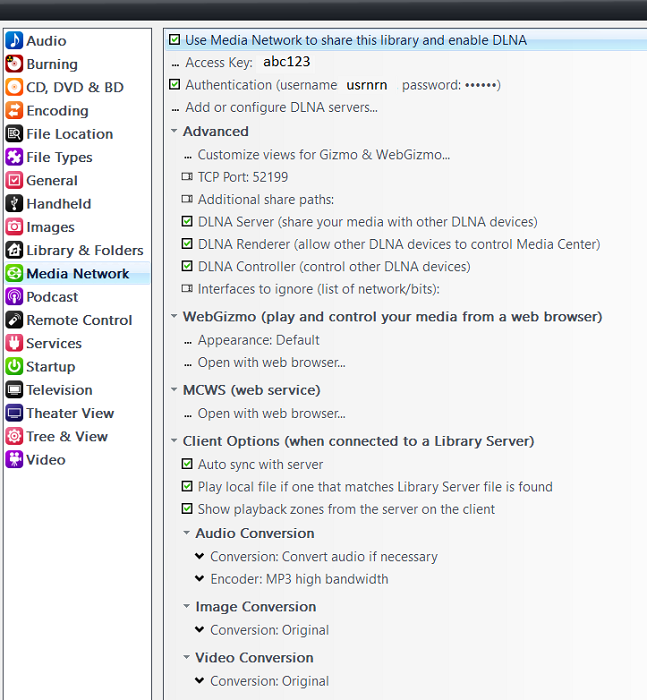
Network configuration: If you plan to stream media to other devices or access your media remotely, configure the network settings in JRiver Media Center. Set up media sharing options, enable UPnP/DLNA server functionality, and configure port forwarding if necessary.
Plugins and customization: JRiver Media Center offers various plugins and customization options to enhance your media experience. Explore the available plugins and customize the interface, visualizations, and playback options according to your preferences.
Performance optimizations: Depending on your ZimaBoard’s hardware capabilities, you can further optimize the performance of JRiver Media Center. Adjust buffering settings, enable hardware acceleration if supported, and fine-tune transcoding options for smoother playback and resource management.
By following these installation and configuration steps, you can set up JRiver Media Center on your ZimaBoard and ensure optimal performance for your media management and playback needs.
Take the time to explore the different features and settings available in JRiver Media Center to customize your media center experience according to your preferences. With JRiver Media Center running on your ZimaBoard, you can enjoy a seamless and feature-rich media management and playback solution.
Final Words:
JRiver Media Center on ZimaBoard offers a robust and versatile solution for managing and enjoying your media collection. With its extensive features, compatibility with various media formats, and the power of ZimaBoard’s hardware, you can create an immersive media center experience. Explore JRiver Media Center on ZimaBoard and elevate your digital entertainment to new heights.