Featured Posts
![]() John Guan - Jul 30, 2023
John Guan - Jul 30, 2023
In recent years, home automation and smart devices have witnessed significant growth and popularity. The ability to control and manage various aspects of our homes remotely and intelligently has transformed the way we interact with our living spaces.
To achieve seamless home automation, a powerful and versatile platform is required, and that’s where Home Assistant comes into play. In this comprehensive guide, we will explore how to use Home Assistant with ZimaBoard Single Board Computers (SBC) to create a smart and automated home environment.
The rapid advancements in technology have led to the proliferation of smart devices in modern homes. From smart thermostats and lighting systems to intelligent security cameras and voice assistants, the Internet of Things (IoT) has revolutionized the way we interact with our homes. Home automation allows us to control and manage these smart devices conveniently, enhancing our comfort, security, and energy efficiency.
Part 1: What is Home Assistant?
Home Assistant serves as the central hub for all smart devices in your home. It acts as a bridge between various smart devices and allows them to communicate and interact with each other. With Home Assistant, you can create automation routines, set up schedules, and even create complex scenarios that trigger multiple devices based on specific events or conditions.
Home Assistant is designed to be platform-independent and can run on various devices, including computers, Raspberry Pi, and, of course, ZimaBoard SBC. This flexibility makes it accessible to a wide range of users with different hardware preferences.
- Key Features and Benefits of Home Assistant
Open-Source: Home Assistant is an open-source platform, which means it is freely available to anyone and is continually being improved and expanded by a large community of developers.
Versatility: Home Assistant supports a vast array of smart devices and services, including smart lights, switches, thermostats, cameras, and more. It allows users to integrate devices from different manufacturers into a unified ecosystem.
User-Friendly Interface: The user interface of Home Assistant is intuitive and easy to navigate. It provides a dashboard where users can access and control all their connected devices.
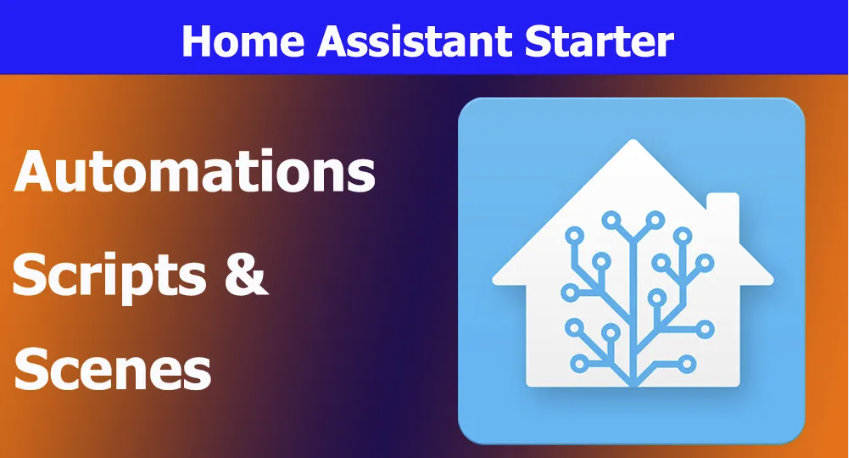
Automation and Scripts: Home Assistant’s automation and scripting capabilities allow users to create customized routines and scenarios to automate tasks and control multiple devices simultaneously.
Integration with Voice Assistants: Home Assistant can be integrated with popular voice assistants like Amazon Alexa and Google Assistant, enabling voice control of your smart devices.
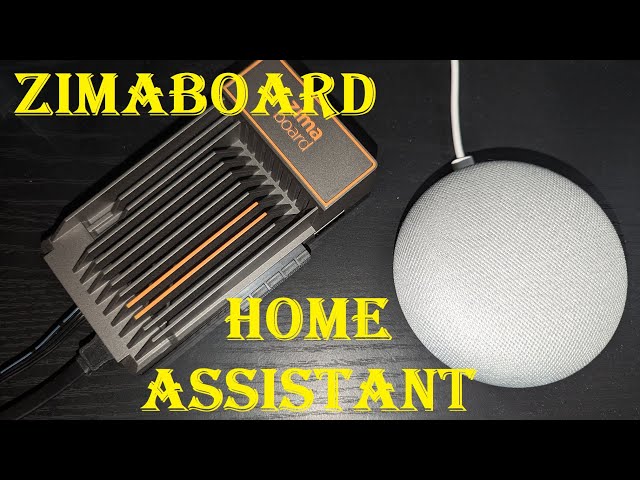
2. ZimaBoard SBC’s Compatibility with Home Assistant
ZimaBoard SBC, with its compact size and energy-efficient ARM processors, is an excellent platform for hosting Home Assistant. Its low power consumption makes it an ideal choice for 24/7 operation, making it perfect for a smart home hub.
Part 2. How to install the Home Assistant?
Before you embark on the journey of setting up Home Assistant on your ZimaBoard Single Board Computer (SBC), it is essential to ensure that you have all the necessary hardware and software components ready for a smooth installation process.
1. Hardware Requirements for ZimaBoard SBC
To run Home Assistant on your ZimaBoard SBC efficiently, make sure you have the following hardware specifications:
ZimaBoard SBC: Ensure you have a compatible ZimaBoard SBC model with sufficient processing power, ideally a quad-core processor or higher.
RAM: Home Assistant’s performance improves with more RAM. A minimum of 2GB is recommended, but if your budget allows, consider opting for 4GB or higher for optimal performance.
Storage: You’ll need sufficient storage space to host the Home Assistant operating system and data. A microSD card with a minimum capacity of 16GB should suffice.
Power Supply: Choose a reliable and compatible power supply for your ZimaBoard SBC to ensure stable and continuous operation.
Network Connectivity: A stable internet connection is essential for downloading updates and accessing external services for Home Assistant.

2. Downloading the Home Assistant Installation Image
To get started with the Home Assistant installation on your ZimaBoard SBC, you need the appropriate Home Assistant installation image. Head to the official Home Assistant website and navigate to the “Get Home Assistant” section. Here, you will find various installation images for different platforms, including ZimaBoard.
Select the correct Home Assistant image that corresponds to your ZimaBoard SBC’s architecture, download it, and keep it ready for the installation process.
2. Creating a Bootable USB Drive or SD Card
Once you have downloaded the Home Assistant installation image, it’s time to create a bootable media using either a USB drive or a microSD card. This bootable media will facilitate the installation of Home Assistant on your ZimaBoard SBC.
Creating a Bootable USB Drive:
Insert the USB drive into your computer’s USB port.
Use a tool like BalenaEtcher (available for Windows, macOS, and Linux) to flash the Home Assistant image onto the USB drive. BalenaEtcher is user-friendly and straightforward to use. Select the downloaded Home Assistant image and the target USB drive. Click “Flash” to begin the process.
Once the flashing process is complete, safely eject the USB drive from your computer.
Creating a Bootable MicroSD Card:
Insert the microSD card into your computer’s card reader.
Use BalenaEtcher or a similar tool to flash the Home Assistant image onto the microSD card. Select the downloaded Home Assistant image and the target microSD card. Click “Flash” to start the process.
Once the flashing is done, safely remove the microSD card from your computer.
Part 3. How to Installing Home Assistant on ZimaBoard SBC?
With the bootable media ready, it’s time to install Home Assistant on your ZimaBoard SBC. Follow the steps below to initiate the installation process.

1. Booting into the Home Assistant Installation Wizard
Connect your ZimaBoard SBC to a monitor using an HDMI cable, and plug in a USB keyboard and mouse.
Insert the bootable USB drive or microSD card (depending on the bootable media you created) into the corresponding slot on the ZimaBoard SBC.
Power on the ZimaBoard SBC. It should boot from the bootable media, and the Home Assistant installation wizard will appear on the screen.
2. Step-by-Step Installation Guide and Best Practices
The Home Assistant installation wizard will guide you through the installation process with clear and concise instructions. Follow the on-screen prompts to proceed with the installation. Here are some best practices to consider during the installation:
Language Selection: Choose your preferred language for the installation process.
Time Zone Configuration: Set the correct time zone for your location to ensure accurate time synchronization.
Network Configuration: Configure the network settings, including connecting to your Wi-Fi network or setting up an Ethernet connection.
Home Assistant Account: Create a Home Assistant account, which will be used to log in and access the Home Assistant web interface.
Storage Device Selection: If you have multiple storage devices connected to your ZimaBoard SBC, select the appropriate one to install Home Assistant.
3. Initial Setup and Configuration
Once the installation is complete, Home Assistant will provide you with an IP address or a local address through which you can access the Home Assistant web interface. Open a web browser on your computer and enter the provided address.
Follow the on-screen instructions to complete the initial setup and configuration of Home Assistant. This includes configuring your user account, setting up integrations with smart devices, and customizing your dashboard.
In the Home Assistant web interface, you’ll have access to various tabs and features, including:
Dashboard: The dashboard serves as the main interface where you can view and control all your connected smart devices. Here, you can create groups of devices, organize them into rooms, and customize the layout to suit your preferences.
Integrations: The integrations tab allows you to add and manage integrations with various smart devices and services. Home Assistant supports a wide range of integrations, from popular brands like Philips Hue and Google Nest to DIY projects using Raspberry Pi.
Automation: Automation is one of the most powerful features of Home Assistant. It enables you to create automations and scripts to control your smart devices based on specific triggers or events. For example, you can set up an automation to turn on the lights when motion is detected or adjust the thermostat based on the time of day.
Configuration: In the configuration tab, you can access the Home Assistant configuration files and make advanced customizations. This section is more suitable for experienced users who want to fine-tune their Home Assistant setup.
Add-ons: Home Assistant offers a wide range of add-ons that extend its capabilities even further. These add-ons include tools for backups, database management, and more. You can easily install and manage add-ons from the add-ons section.
User Profile: In the user profile section, you can modify your account settings, change passwords, and manage other user-related preferences.
In conclusion, the seamless integration of Home Assistant with ZimaBoard SBC opens up endless possibilities for creating a smart and automated home environment. With ZimaBoard’s powerful hardware and Home Assistant’s versatile capabilities, users can effortlessly control and customize their smart devices, enhancing comfort, security, and convenience in their everyday lives. Embrace the future of home automation with Home Assistant and ZimaBoard, and experience the true power of a smart home.