Personal NAS
![]() John Guan - May 31, 2023
John Guan - May 31, 2023
The world of Network-Attached Storage (NAS) offers a multitude of product options, with DIY builds being a popular choice due to their affordability and customizability. However, selecting the right components and hardware quality can be a challenge, and the cost of experimentation may be too high for novice users.
As a new player in the personal cloud and NAS market, we have recently explored some DIY NAS products to assess their effectiveness. We look forward to partnering with more software and hardware vendors to bring new and exciting products to the market.
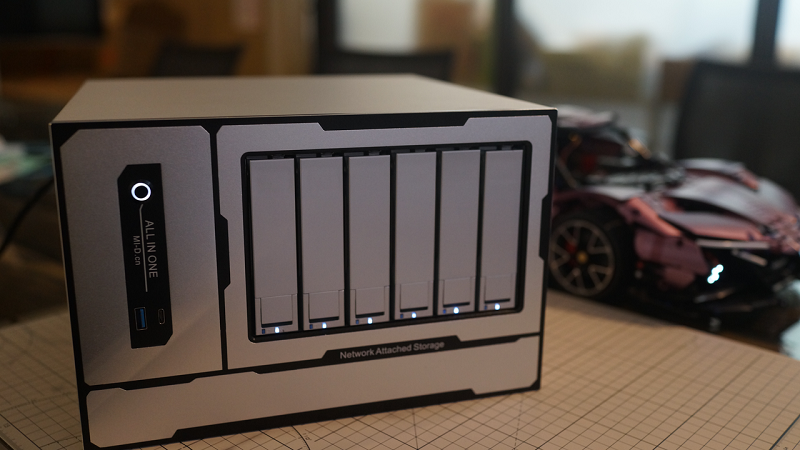
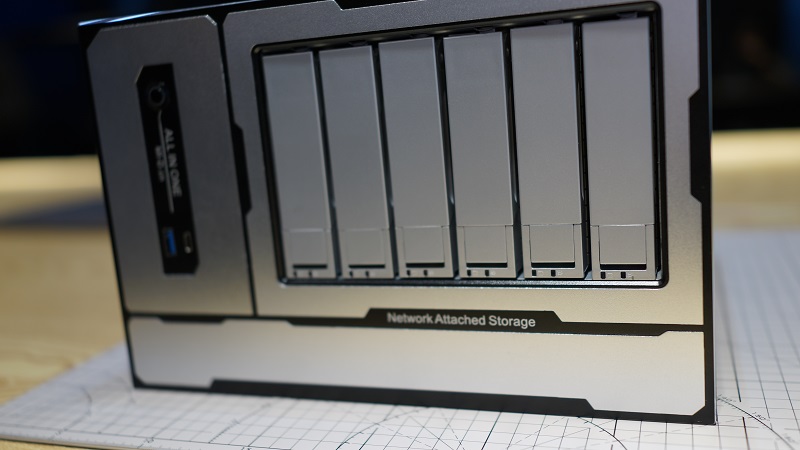
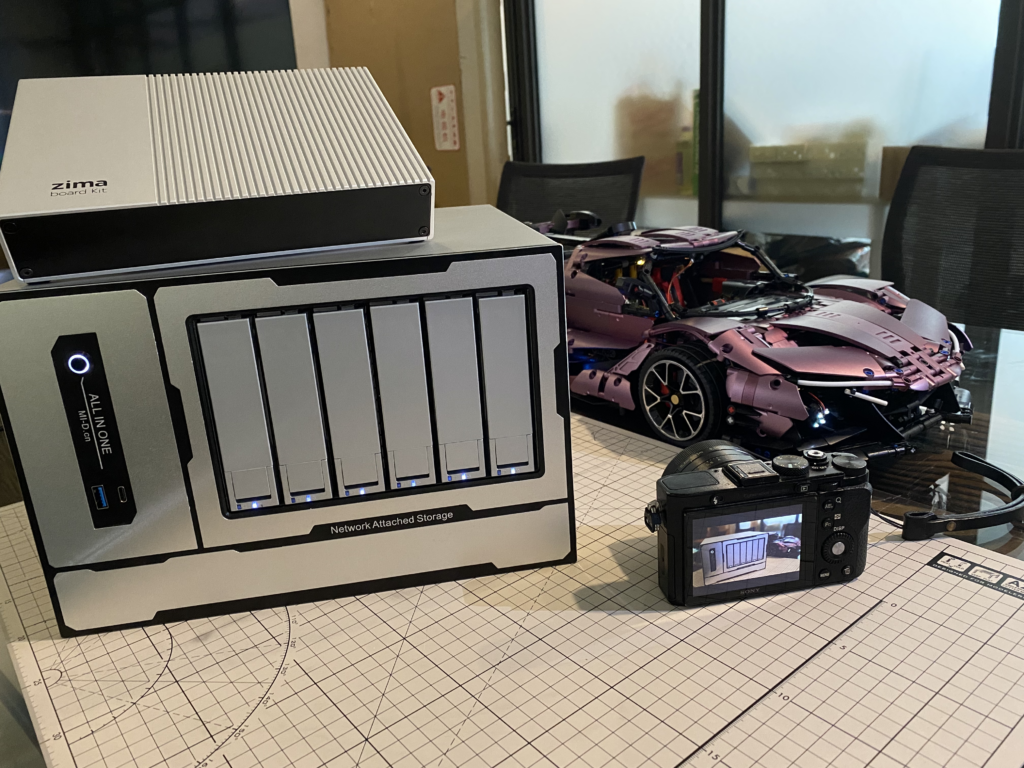
This review will focus on the Tank DIY NAS chassis, which offers 6 drive bays for storage. We will evaluate its performance and functionality, and provide insights for potential buyers.

Part 1: Hardware Information – Combination of a D1581 CPU and a 6-Drive Bay Tank Chassis
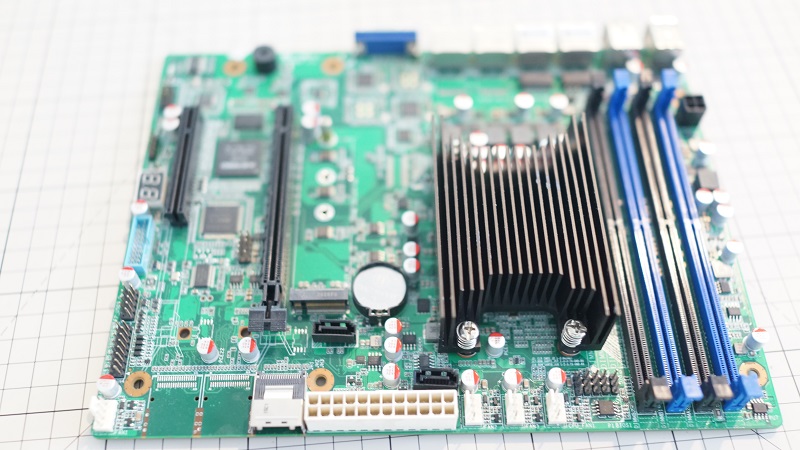
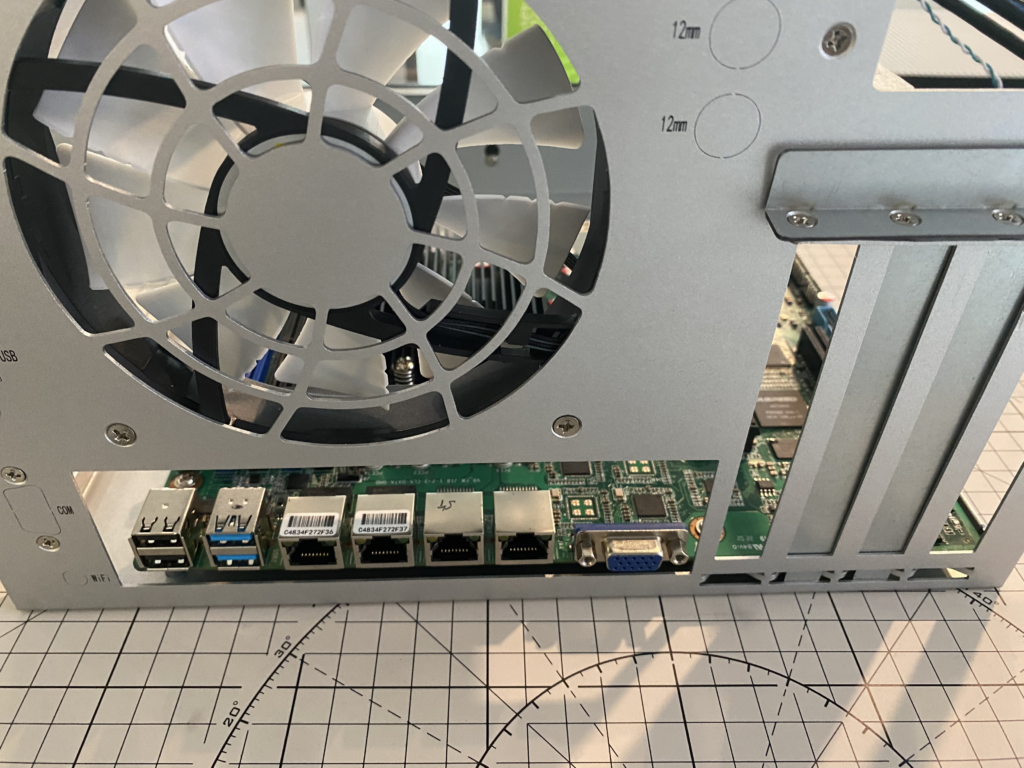
For this build, we have chosen the D1581 CPU from our hardware partner, which features 16 cores and 32 threads. The motherboard comes with 4 DDR4 memory slots, dual M.2 NVMe interfaces, 4 I210AT Intel Gigabit Ethernet ports, and two PCIe interfaces (x8 and x16).
While this motherboard may be overkill for the 6-drive bay Tank chassis we are using, having a powerful CPU is always beneficial. This combination offers excellent processing power for multi-tasking and resource-intensive applications, making it ideal for users who require a high-performance NAS system for media streaming, backup, and file sharing.
It’s important to note that when selecting hardware components, it’s crucial to consider the compatibility and balance between different parts to ensure optimal performance and stability.
Hardware Specification
- CPU Processor: Intel® Xeon® Processor D-1581
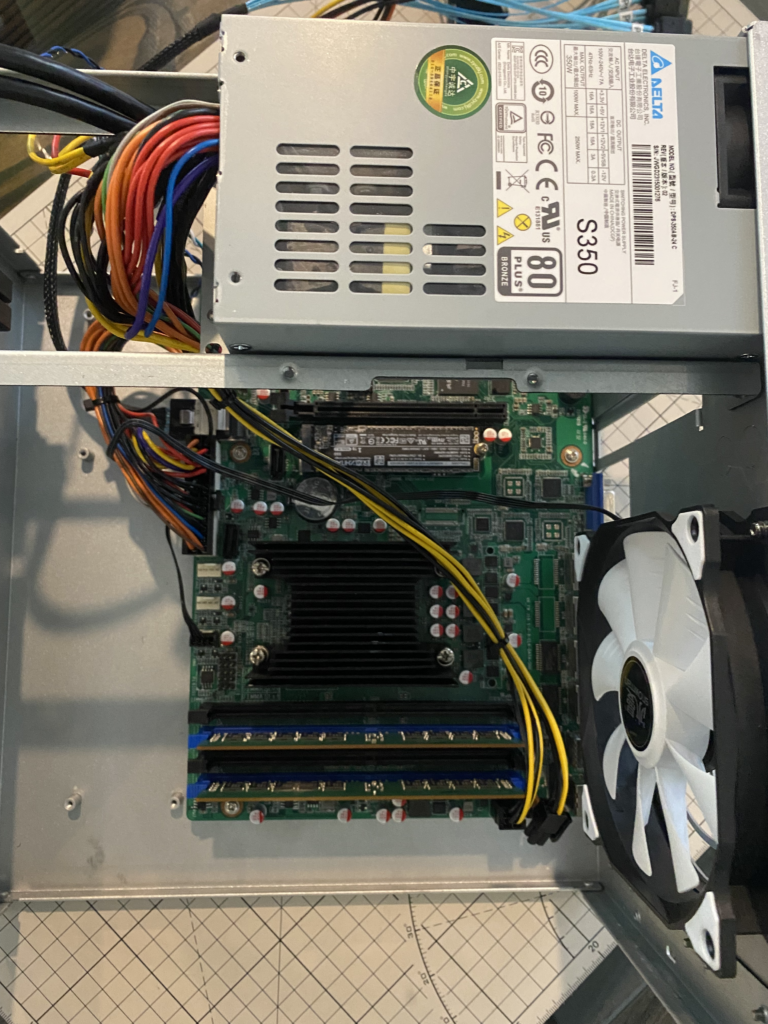
- Power Supply: Delta
- Hard Drives: TOSHIBA 4T*6
- SAMSUNG Memory: 16G*2 DDR4 2400MHz
Chassis Size
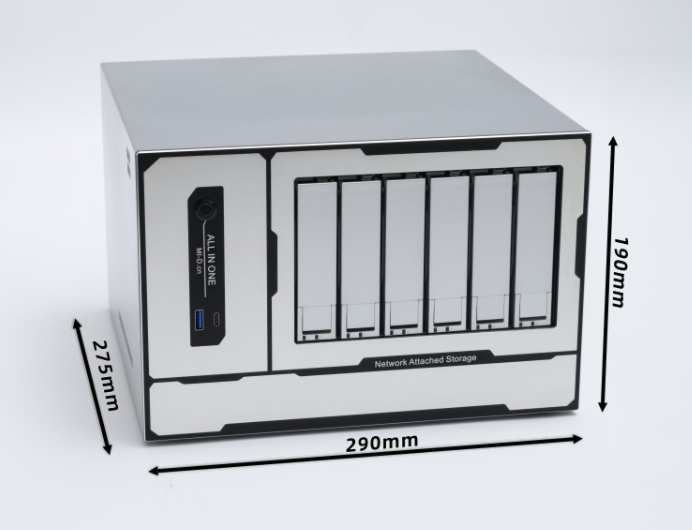
This chassis measures 290mm in length, 275mm in width, and 190mm in height and can be placed vertically. While it is slightly larger, the extra internal space is likely intended for better ventilation and airflow. Once assembled, the interior of the chassis still feels quite spacious.
The front panel features a sleek metal finish, but the hard drive cover plate is made of plastic, which results in a noticeable color difference that can be spotted instantly
Functions
Each hard drive is equipped with two indicator lights underneath – a power light and a status light to indicate the operational status of the drive.
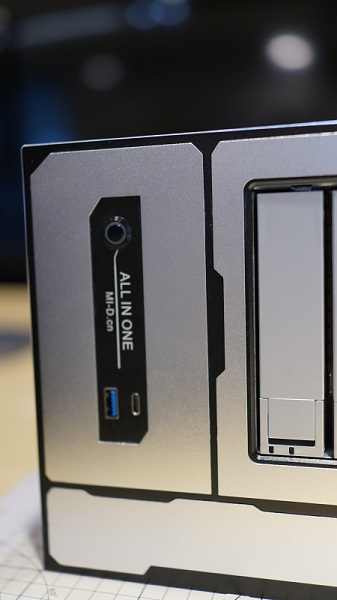
The power switch features a white halo light, and there is a USB 3.0 Type-C port located at the back of the chassis. The actual transfer speed of the Type-C port is 5Gbps, which is the speed of USB 3.0.
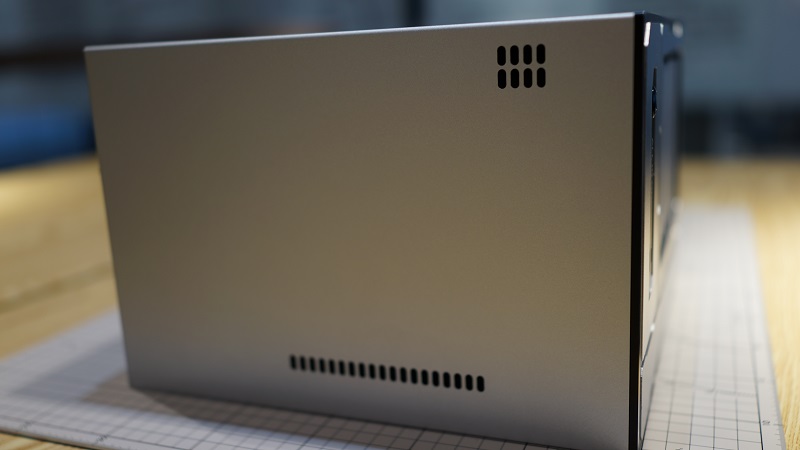
There is a small ventilation opening on one side of the chassis, likely intended for better air circulation and cooling. This is the only side of the chassis with a ventilation opening.
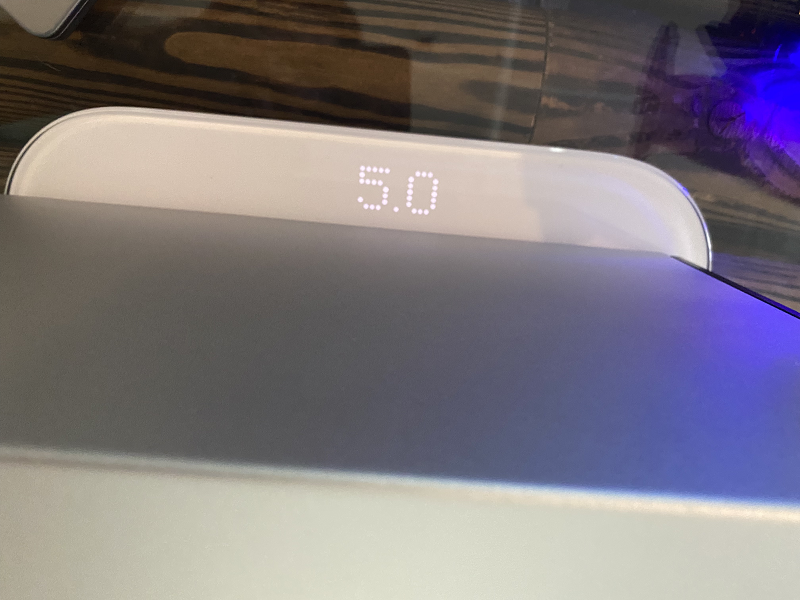
Weighing in at a solid 5 kilograms, it’s clear that this chassis is made with durable and high-quality materials.
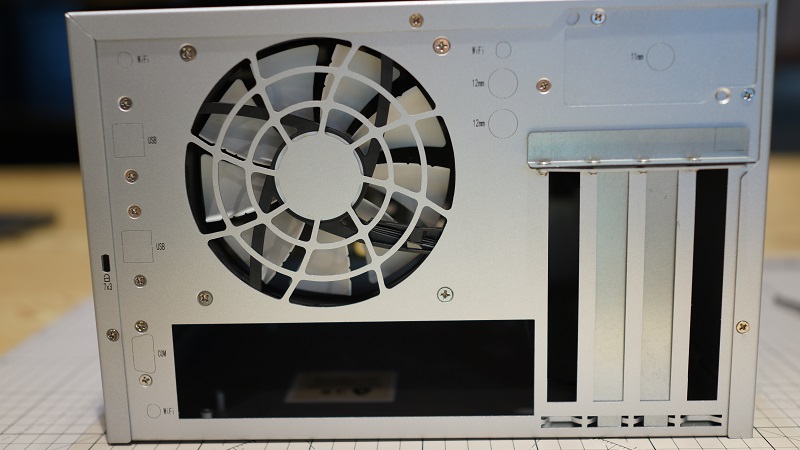
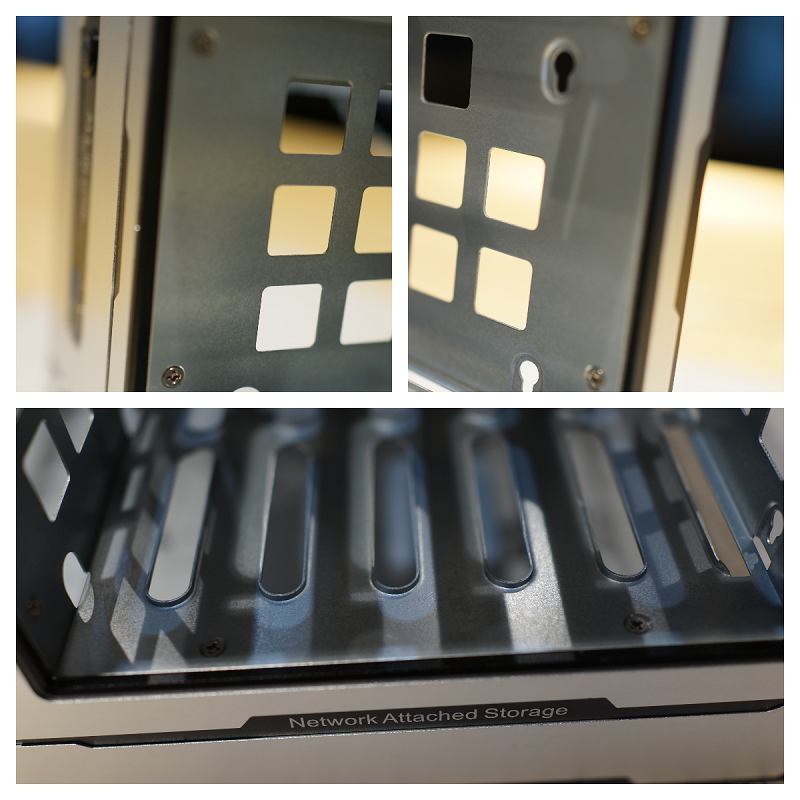
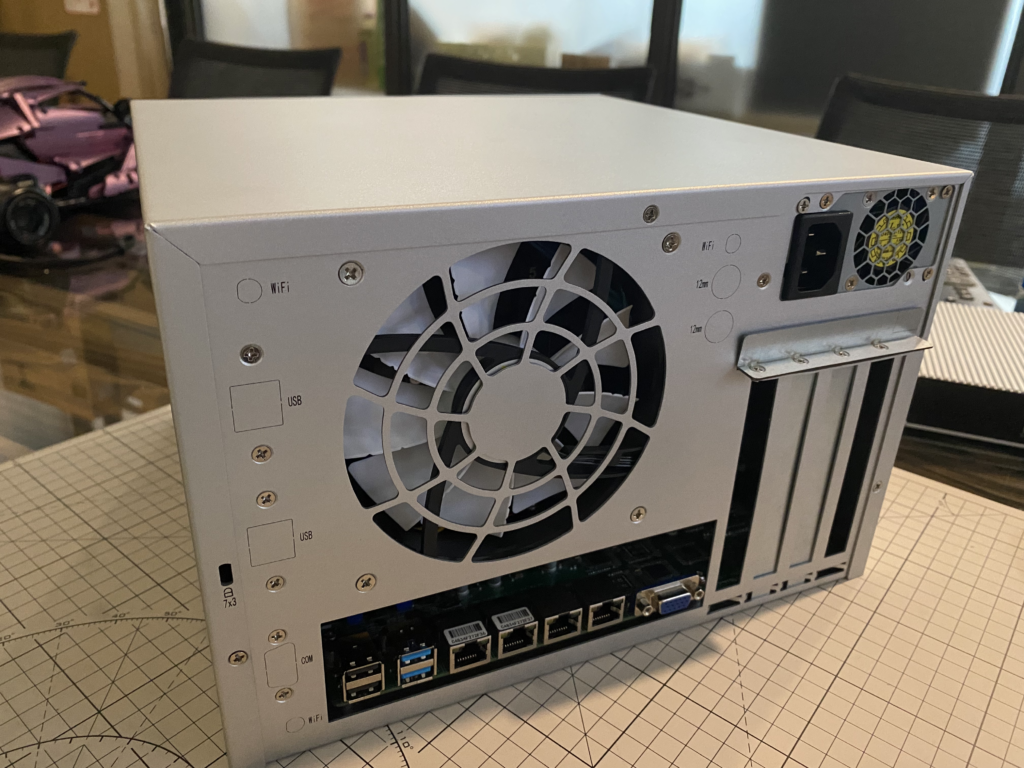
Reserved Opening
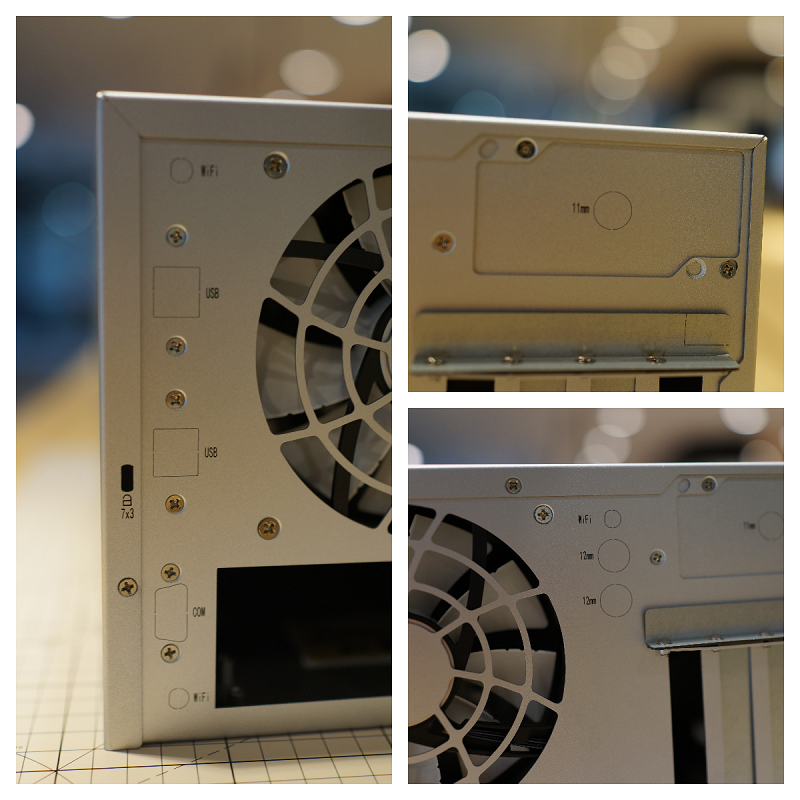
The back panel of the chassis features many reserved cutouts that can be removed according to the user’s needs. In the previous version, there were no text labels, but now the cutouts are clearly labeled for easier identification.
There are also many cutouts and markings on the power supply area, allowing users to customize their DC power supply. These thoughtful details show that the vendor has put a lot of effort into the design of the chassis.
Internal Structure
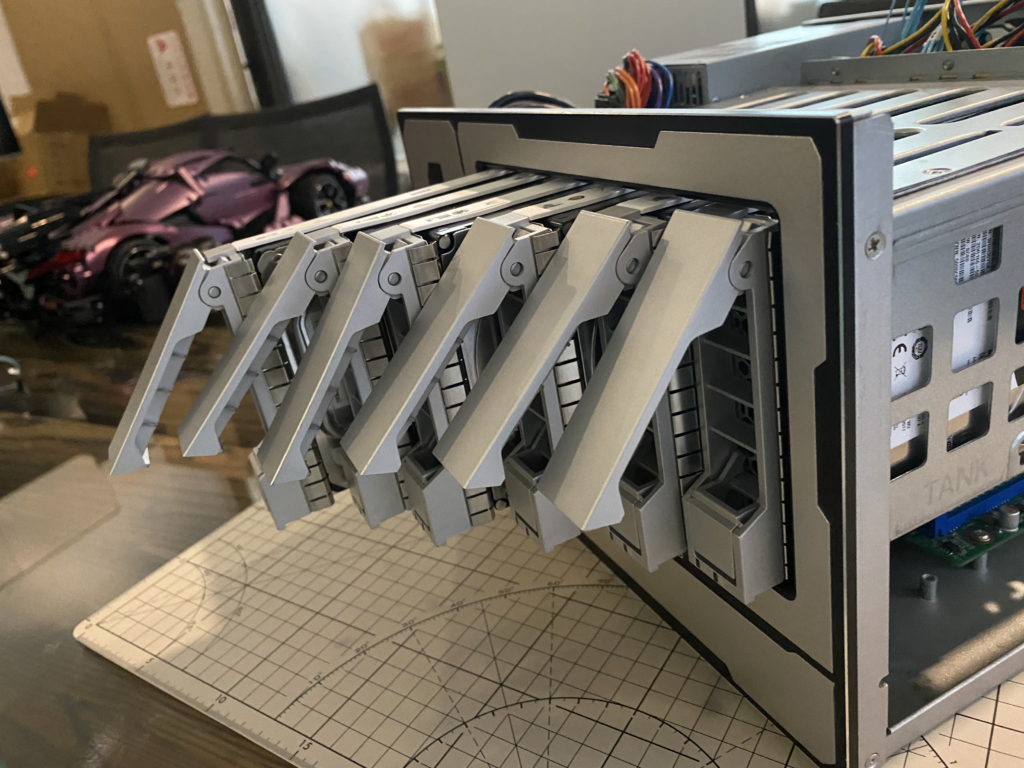
Hardware Drive Bays
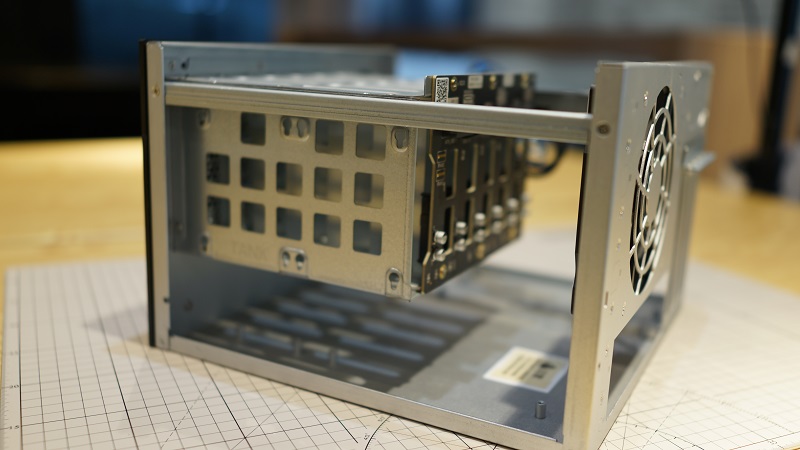
There are six 3.5-inch hard drive bays as shown in the picture, and eight screw holes that can accommodate two 2.5-inch hard drives.
Assembly Steps
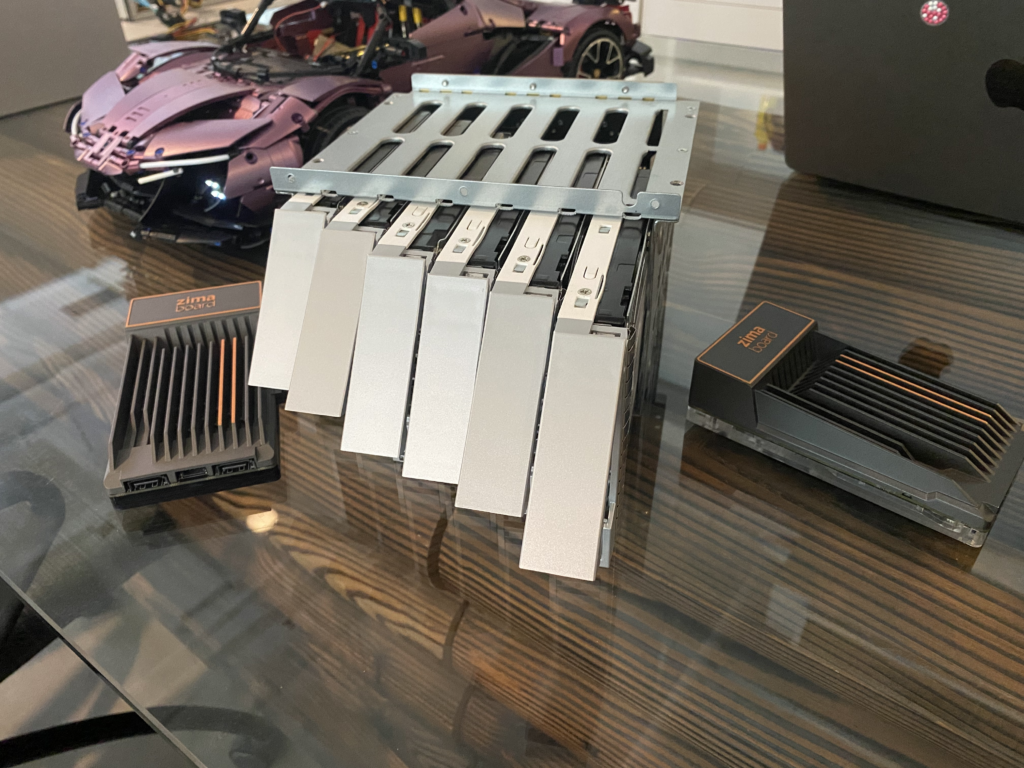
1. Disassemble the Hard Drive Bays
Next, we will continue disassembling the chassis and preparing for assembly. Start by removing the hard drive brackets.
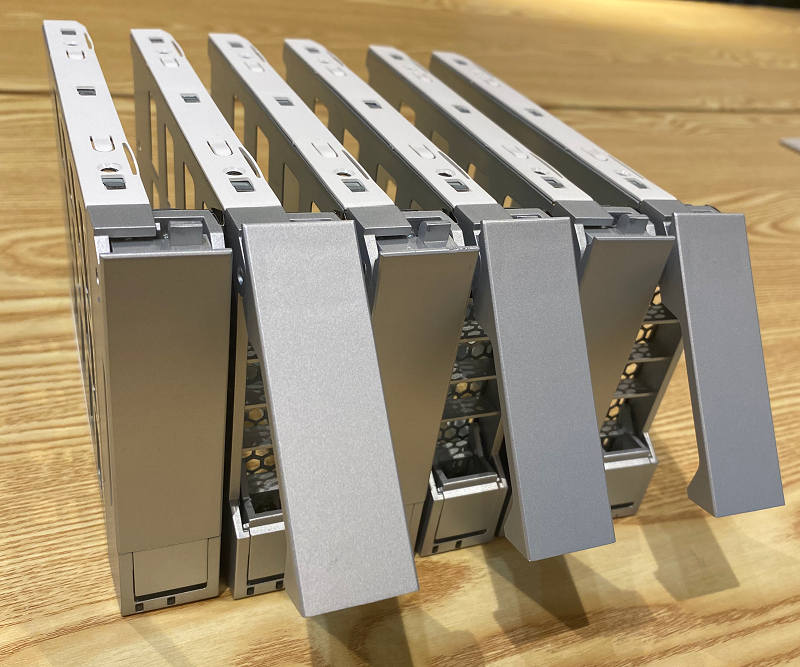
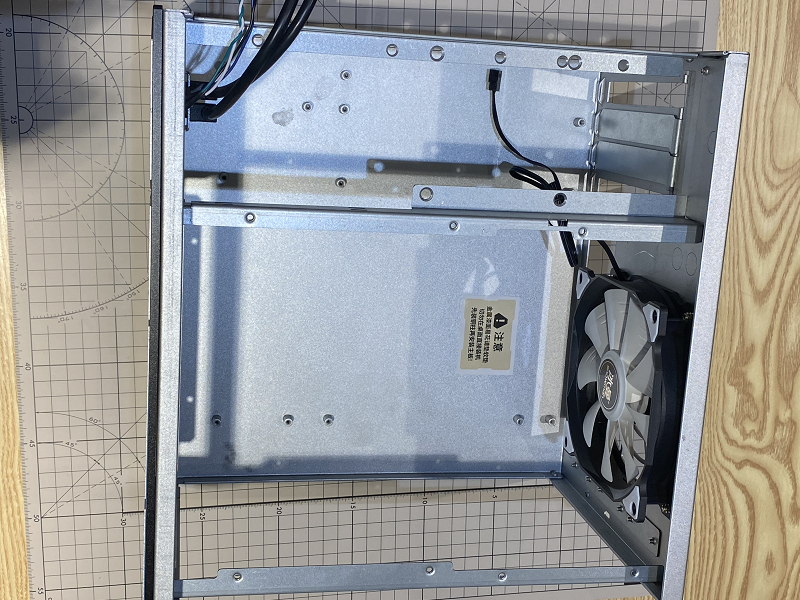
Remove the top cover by unscrewing the three screws and lifting it upwards.
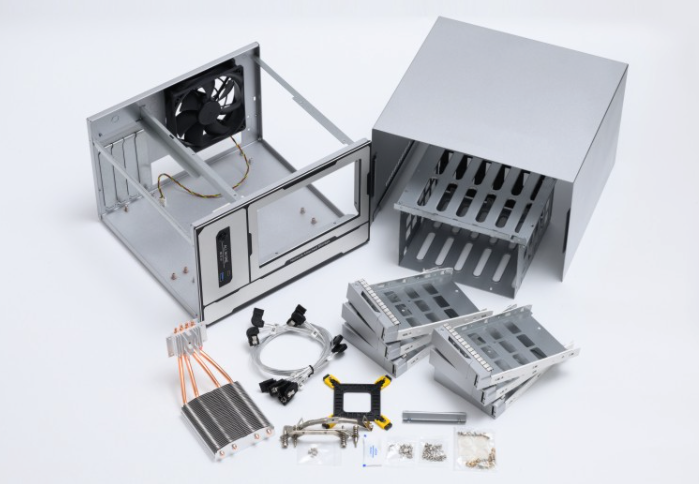
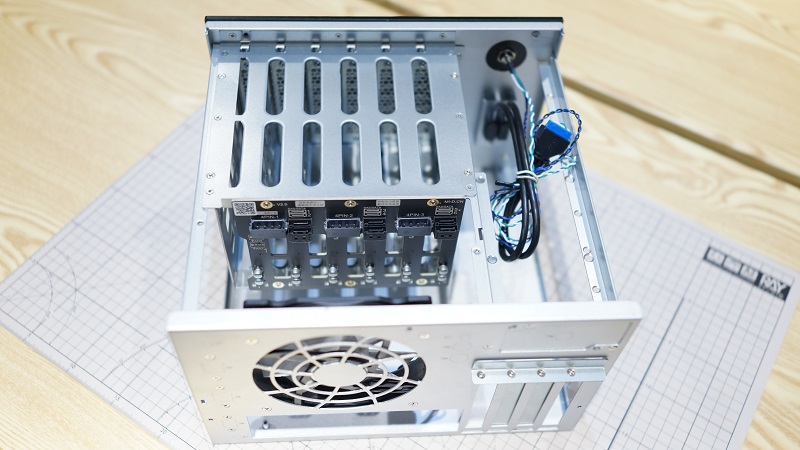
After removing the top cover, you can see the hard drive bay and an included fan (which has been removed and not used). Now, you can continue by disassembling the hard drive bays to prepare for installing the motherboard.
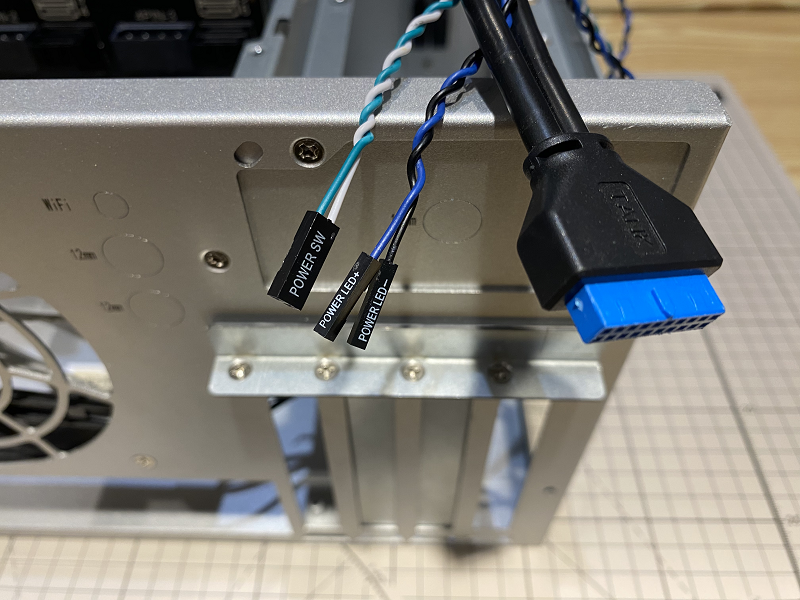
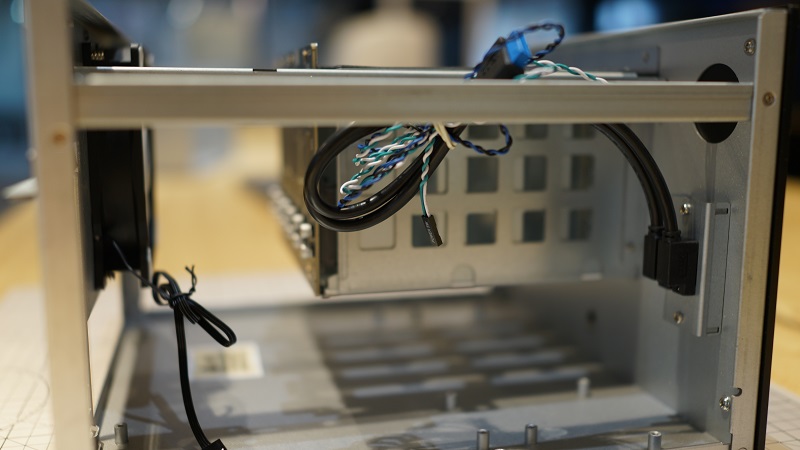
20-pin Connector and front panel connectors for power
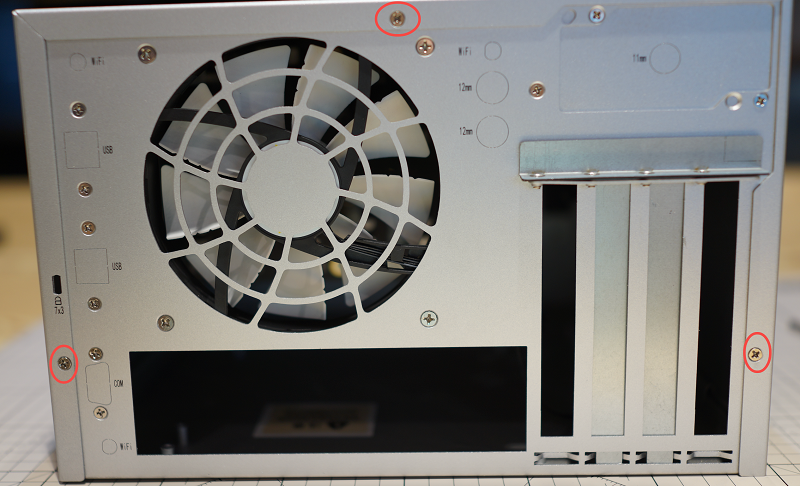
You will need to remove 15 screws to disassemble the hard drive bays. The top three screws shown in the picture need to be separated from the rest of the screws as they are different.
Remove the hard drive bracket and disassemble the top six screws.
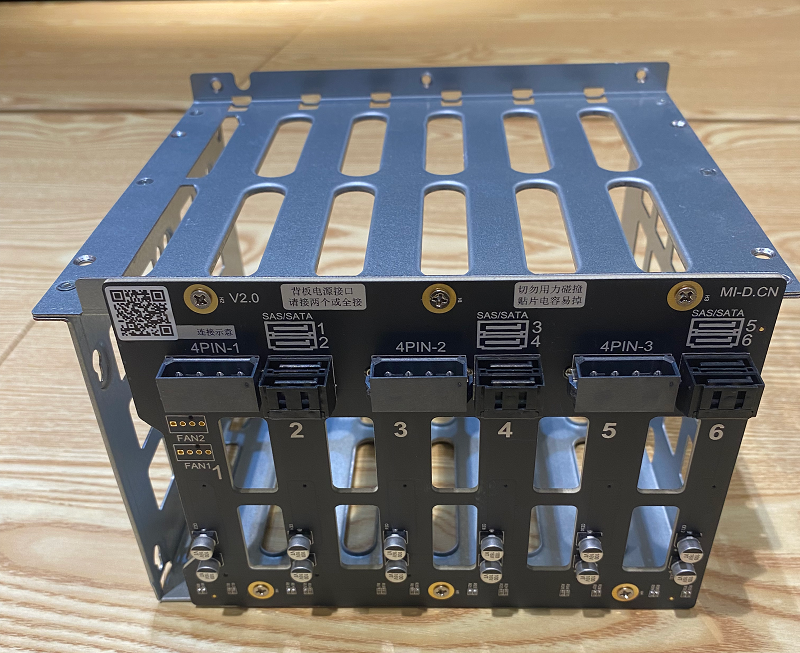
The hard drive bays have three sets of large 4-pin and SATA connectors for support.
Disassembly of the hard drive bays is now complete, and we can move on to prepare for assembly.
2. Install the Motherboard
The Tank chassis is compatible with a wide range of motherboard models, including all models within the MicroATX size range. Therefore, you can install the chassis first and then purchase the motherboard that meets your requirements.
We decided to use the existing non-standard fan that came with the motherboard. We did not use the fan that came with the Tank chassis as it was not needed in this case. Clearly, the current cooling solution is insufficient. Let’s first complete the assembly tutorial and then reassess the situation to determine the next steps for improving the cooling solution.
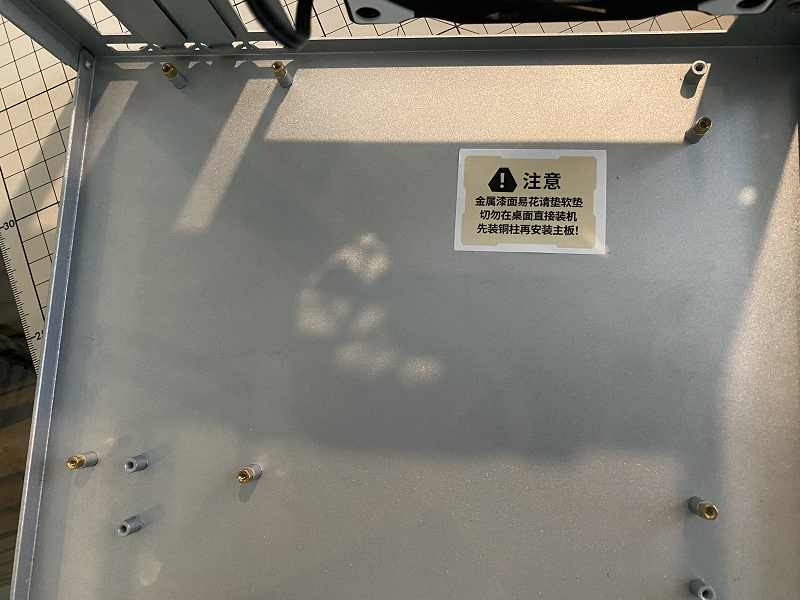
Before installing the motherboard, attach the brass standoffs to the chassis in locations that align with the screw holes on the motherboard.
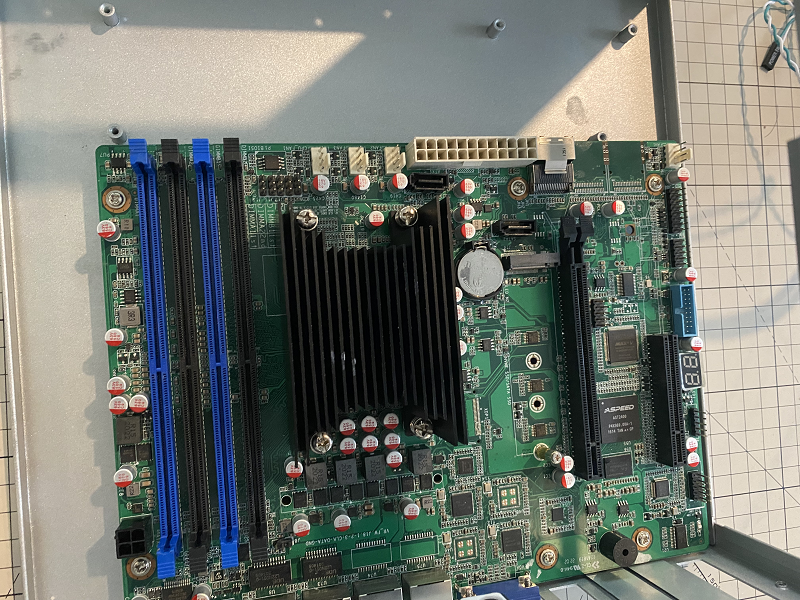
Then, install the motherboard by aligning it with the standoffs and securing it in place with screws.
If there is a motherboard tray or plate, install it now. However, in this case, we will not install the tray or plate.
3. Install the Power Supply
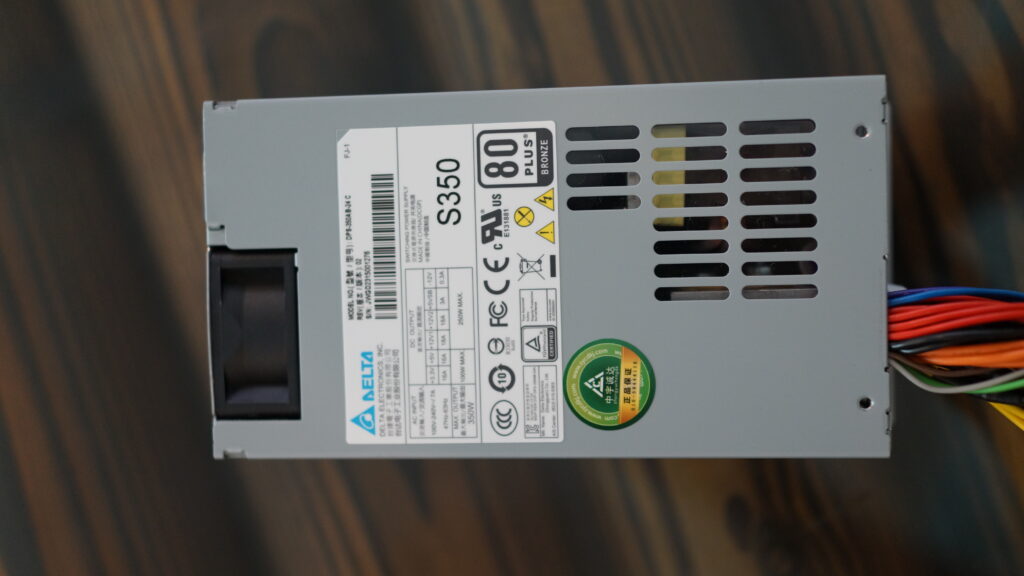
Make sure to purchase the correct small 1U power supply (flex)
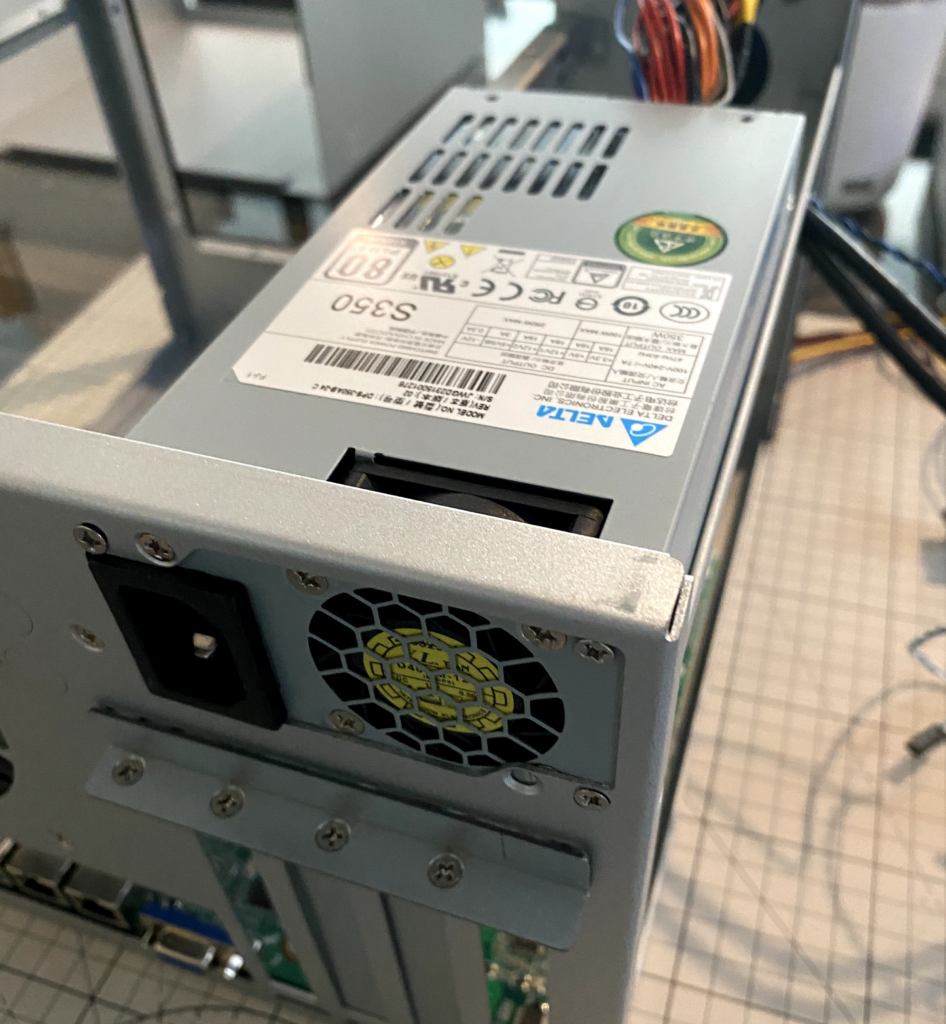
Power is ready!
4. Connect the accessories
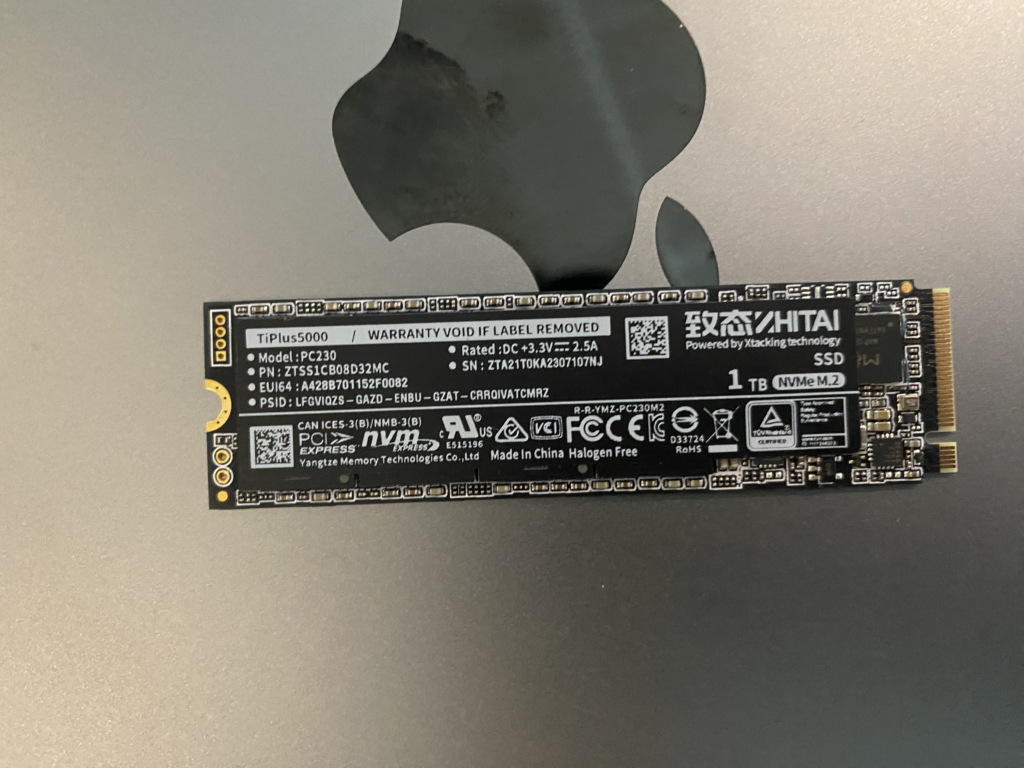
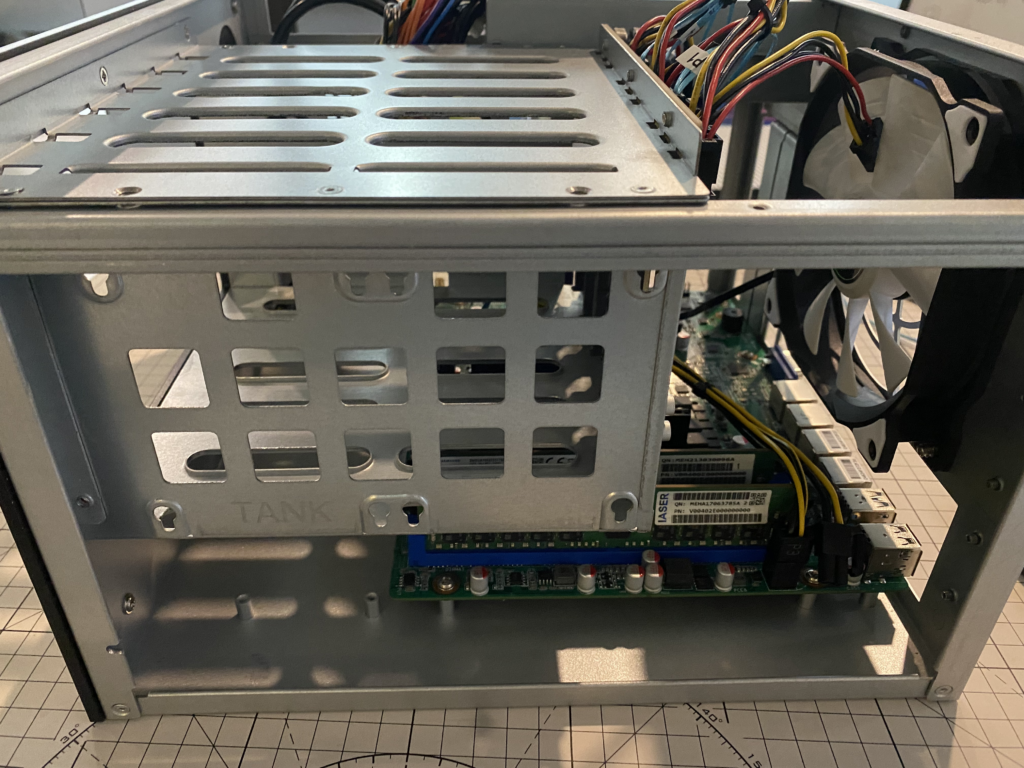
1TB SSD
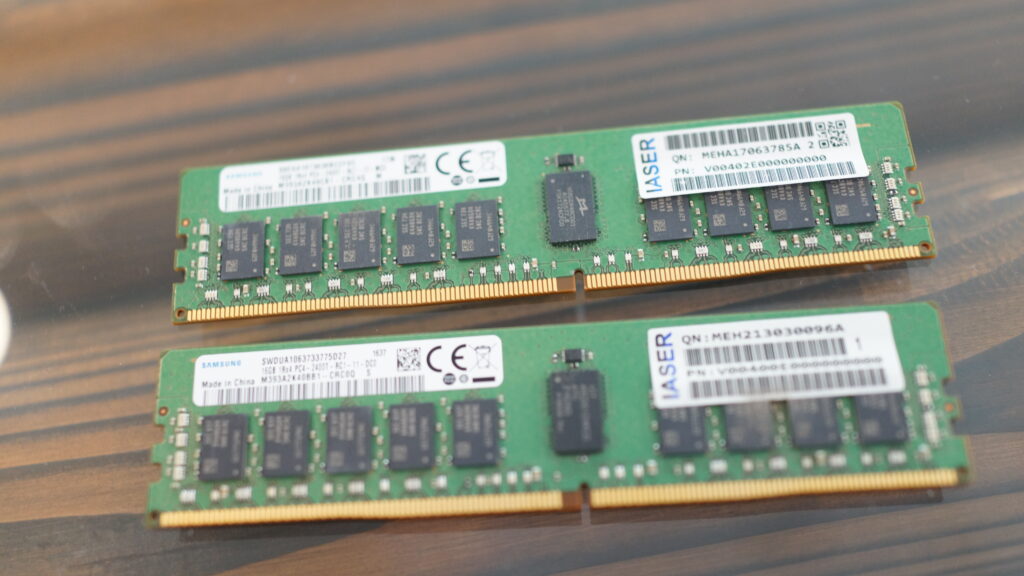
32GB Memory
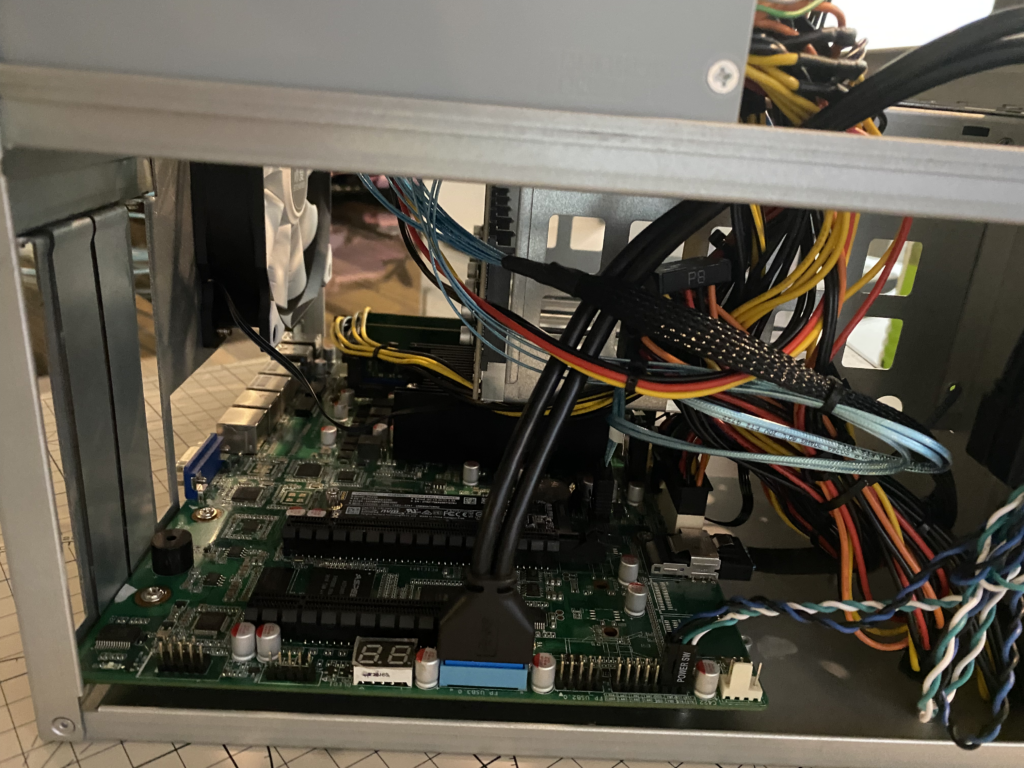
5. The cables
Connect the power supply cables first and then arrange them neatly, ensuring that the hard drive bays are not blocked.
6. Install Hard Drive Bays
Carefully place the hard drive bays into the chassis and avoid pressing down too hard. Once you have confirmed that everything is aligned properly, you can secure the hard drive bays in place with screws.
7. Clean Up Your Messy Cables
Tidy up the cables to avoid obstructing the airflow of the fan and any other cooling components. Use zip ties to secure and organize the cables, ensuring that they are neatly arranged and out of the way.
8. Power on the device for Testmug
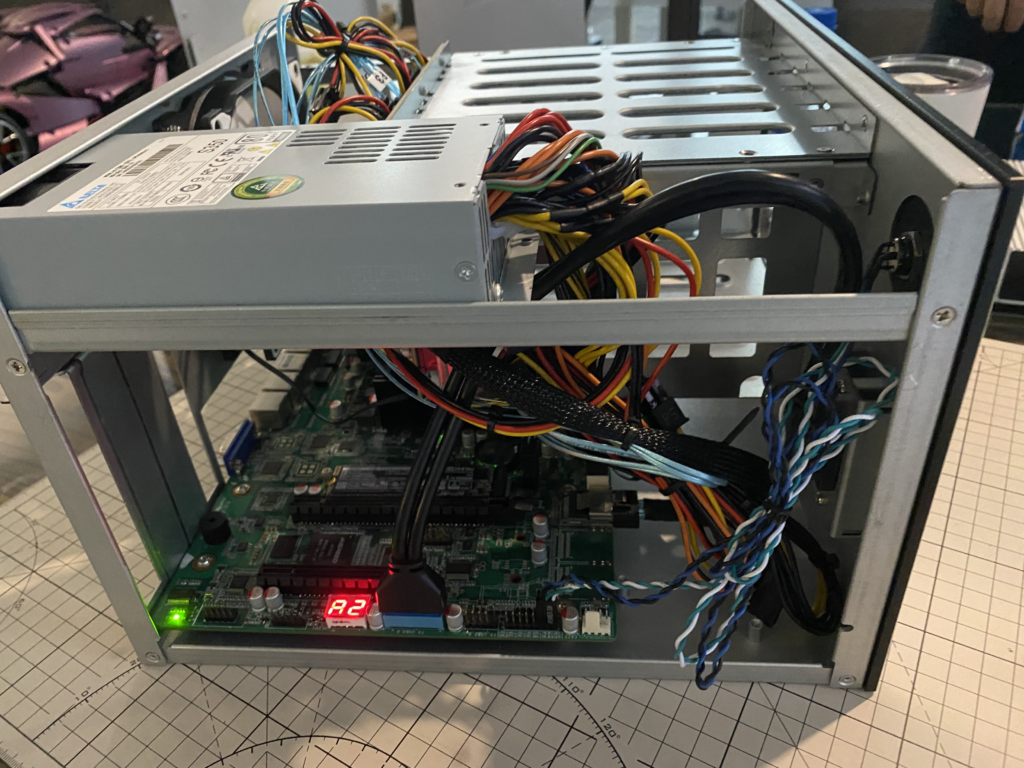
Power on the system and test that the motherboard is running properly.
9. Insert Hard Drives
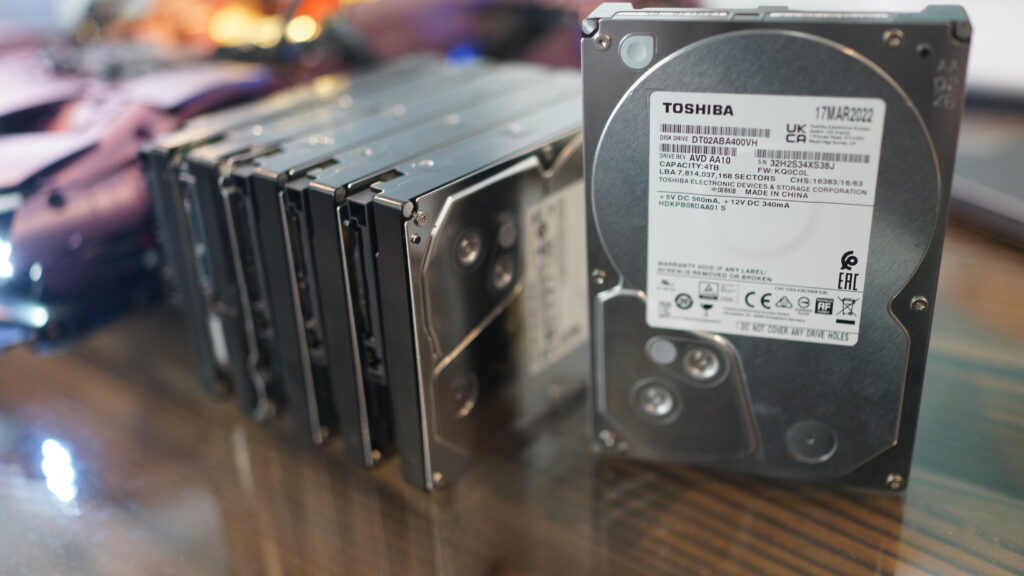
4T*6 Hard Drives
Place the hard drives onto the hard drive brackets and secure them in place.
Enter the chassis!
Finally, Install the Cover
Put the panels on
In the final powered-on state, the power indicator light and hard drive, among others, are lit up normally. However, since there is no operating system installed, the status light of the hard drive is not yet functioning properly.
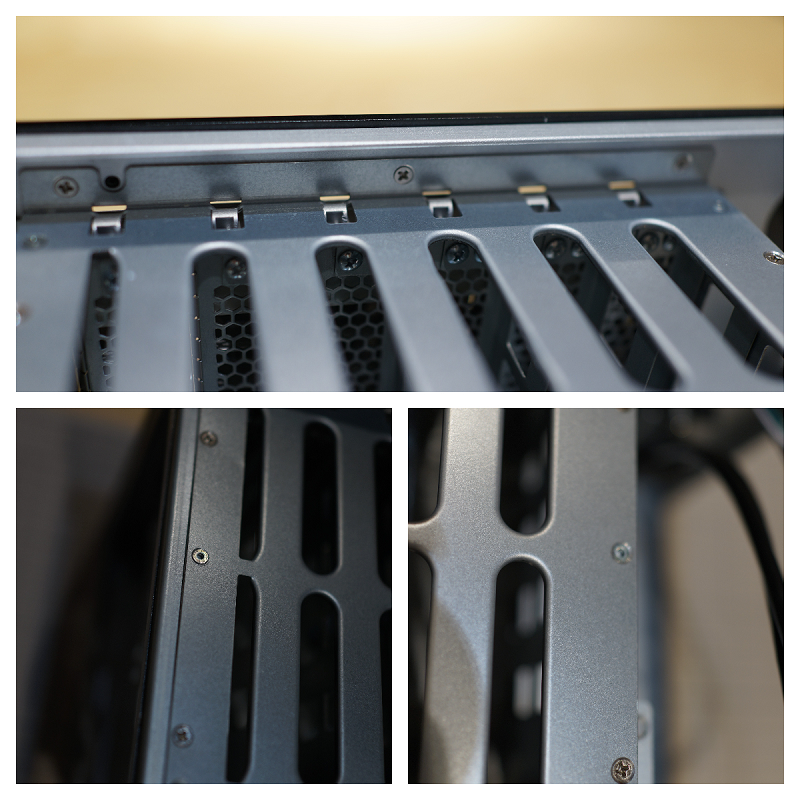
Conclusion
The Tank chassis is characterized by its solid construction and thick materials. While there have been reports of sharp edges causing cuts, the reviewed unit had undergone polishing and edge folding, ensuring a safer assembly experience. The expandability of the chassis is a standout feature, accommodating up to 6 3.5″ mechanical drives and 2 2.5″ SSDs, along with support for a standard MATX motherboard and multiple full-height PCI-E expansion slots.
Its aesthetics are considered above average, with an aluminum panel featuring a textured design and a patented dual-color oxidation process. The overall ease of installation and the seller’s commitment to product improvement contribute to the Tank chassis offering excellent value for money.
Details
Craftsmanship: The materials used in this chassis are relatively solid, and each position is thick. In terms of craftsmanship, there have been online comments mentioning the possibility of getting cut. However, I personally assembled it without gloves, and while the edges may not be as refined, I didn’t experience any cuts.
The one I received had been polished (except for the HDD cage, which is prone to deformation), and all the metal edges were folded to prevent cuts. On the Taobao store, you can also see improvements in each batch compared to the previous one, which shows that the seller is dedicated to producing quality products.
Expansion: With 6 3.5″ mechanical drive bays and 2 2.5″ SSD slots, it should be sufficient for most households. However, the advantage of this chassis lies in its expandability. It can accommodate a standard MATX motherboard, providing 4 full-height PCI-E expansion slots. This means that using RAID cards, 10 Gigabit Ethernet, Gigabit Ethernet, NVMe expansion cards, and more is not a problem. This is also the meaning behind the ALL IN ONEtext on the front of the case.
Aesthetics: Evaluating aesthetics is subjective, but I believe it is above average, at least it doesn’t look awkward. According to information on Taobao, the aluminum panel features a sandblasted texture and a dual-color oxidation process, and its appearance has been patented.
Assembly: The installation is also convenient, and it didn’t take much time to complete the entire process. Overall, the Tank chassis offers great value for money.
Contact
If you are interested in this product and have a need for further system-level installation tutorials or if you would like us to review other similar motherboards and chassis products, please contact us at lauren@icewhale.org. We are committed to collaborating with the community to create content and review more intriguing products related to the personal cloud industry.
You can also join our Discord community to engage in discussions with other enthusiasts.