Tips & Tricks
The Compatibility Between ZimaBoard and VMware ESXI 8.0 Test
![]() John Guan - Aug 18, 2023
John Guan - Aug 18, 2023
Experimental results: Compatible, but with INTEL network card
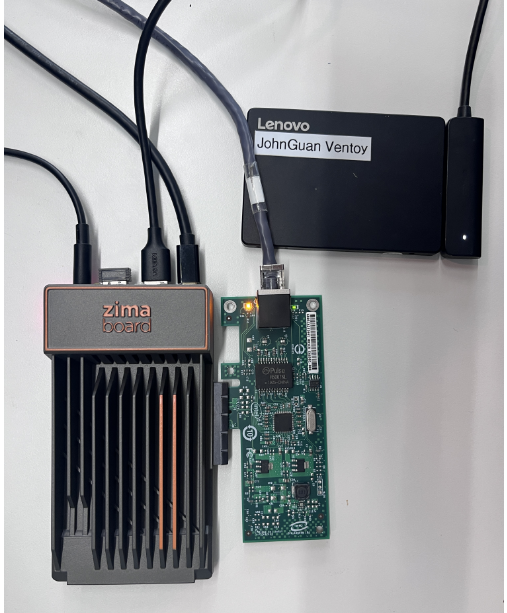
Equipment preparation:
- 1 X zimaBoard 832
- 1 X monitor
- 1 X mini DP
- 1 X SATA cable
- 1 X keyboard
- 1 X U disk (as installation disk)
- 1X Intel network card
- Download the ESXI 8.0.iso image file, and use Rufus to write this file to the U disk as the installation disk.
- Insert the installation disk into ZimaBoard SBC, wait for the installation to complete, and pull it out.
- Restart the ZimaBoard Single Board Computer.
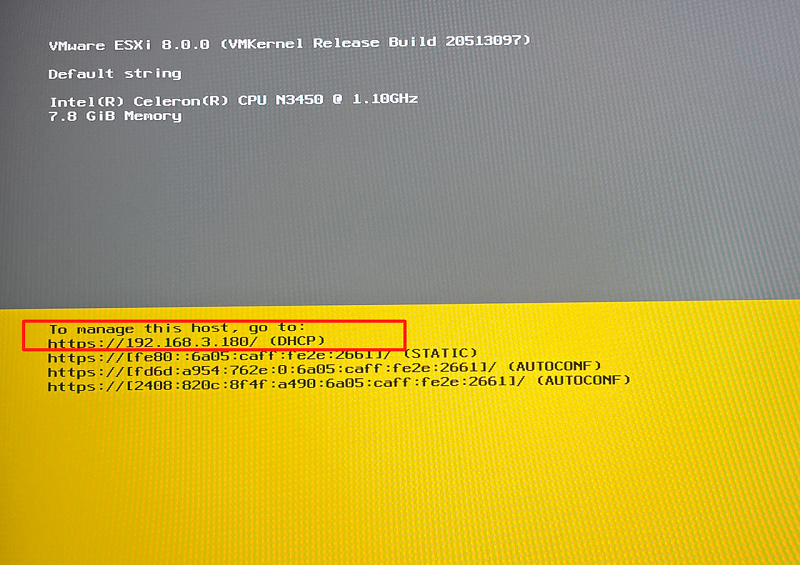
- Read the IP address of VMware EXSI, log in, and use VMware.
Brief description of the quick operation process:
The detailed installation process of ZimaBoard and VMware ESXI 8.0
Step 1: Download the image file
https://customerconnect.vmware.com/downloads/details?downloadGroup=ESXI80U1A&productId=1345

Step 2: Make and install U disk
Step 3: Install VMware
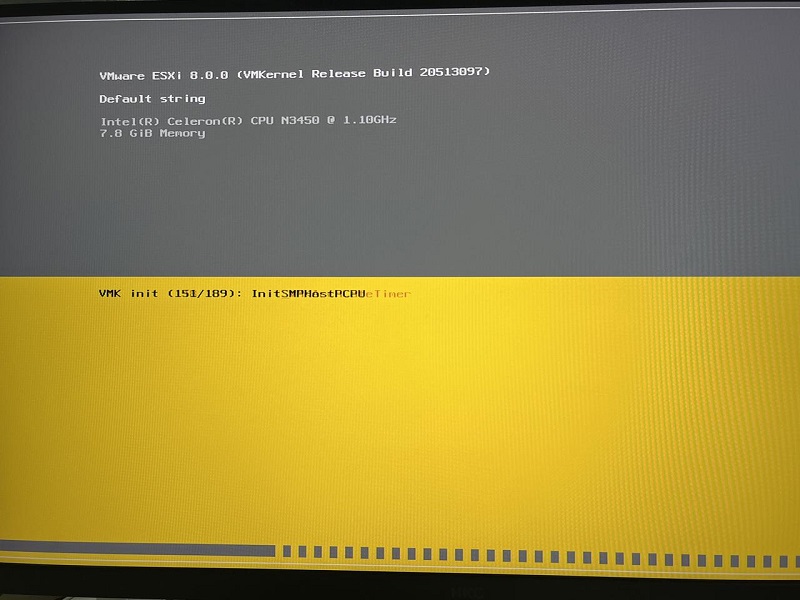
3.1 Waiting to run
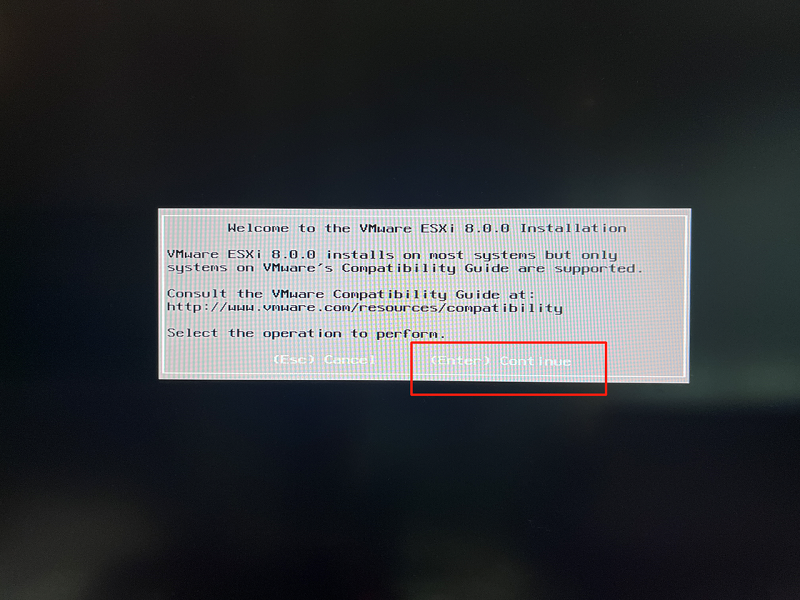
3.2 Click to continue
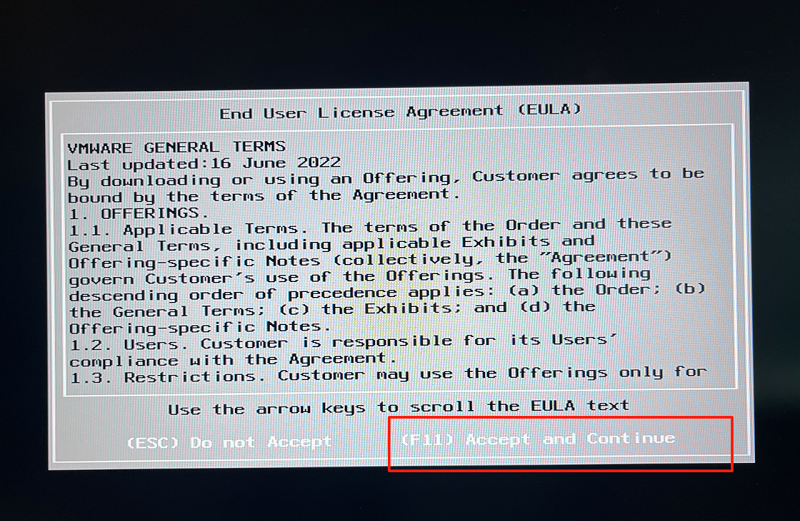
3.3 click accept
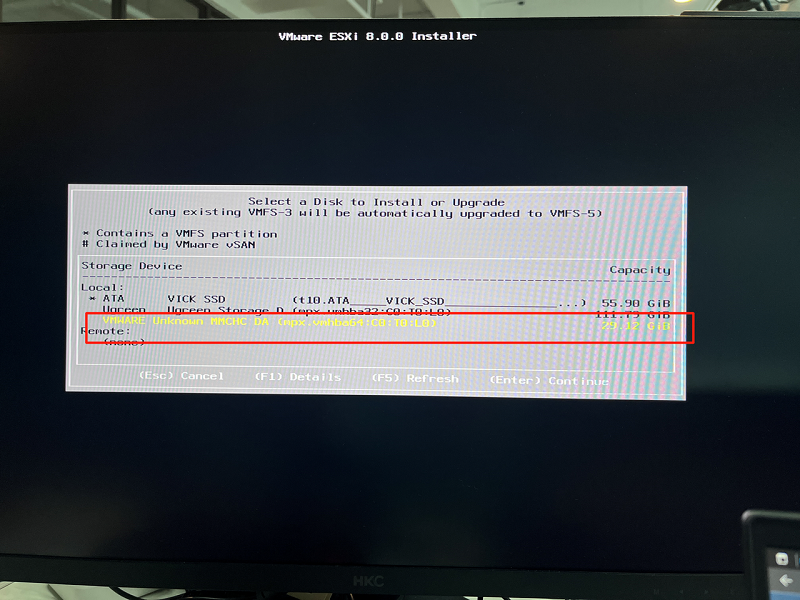
3.4 Select ZimaBoard as the system disk
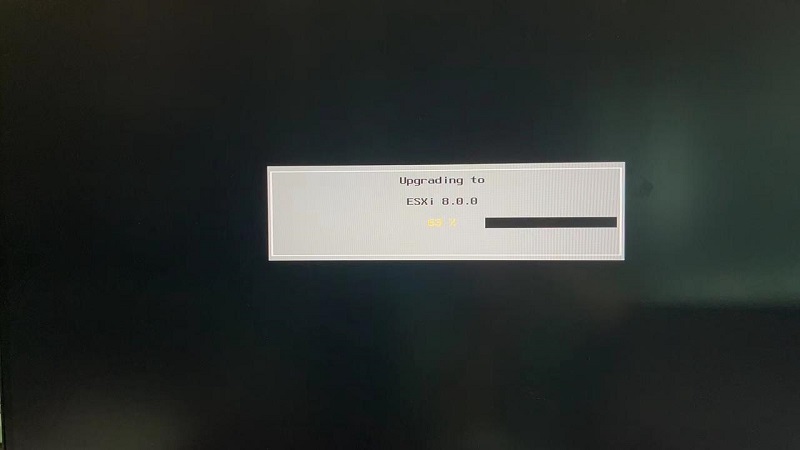
3.5 Waiting for installation
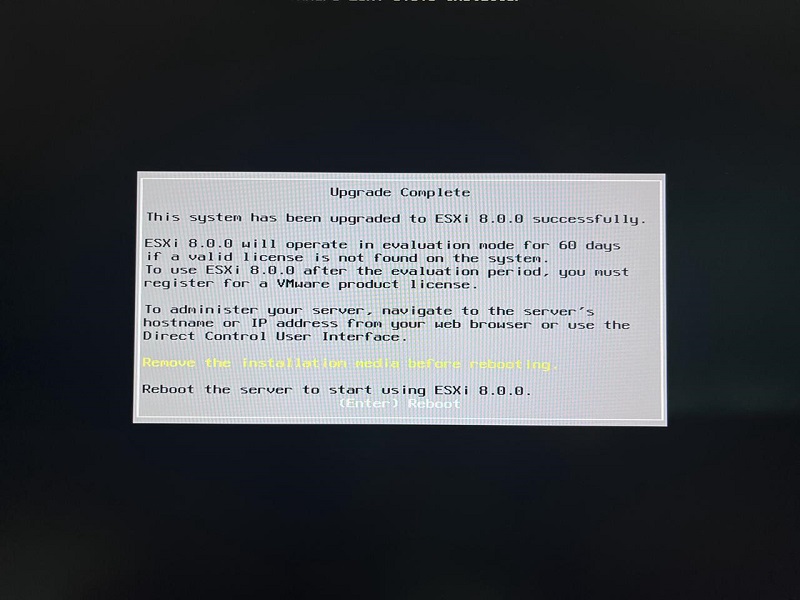
3.6 Restart the device
3.7 After logging in, check the IP
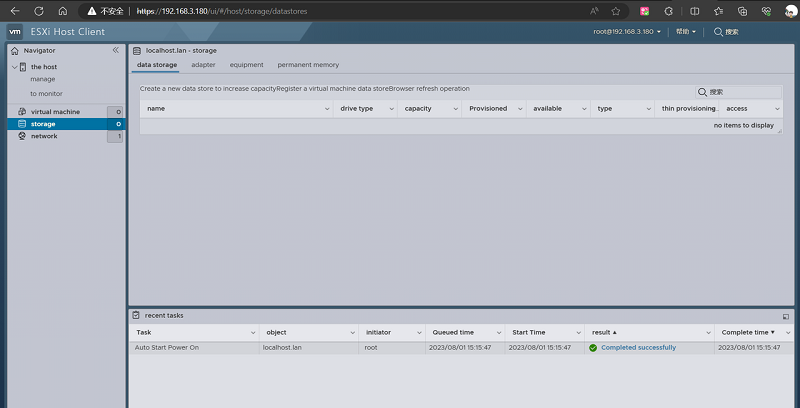
Step 4: Run VMware
Enter the IP and login to the VMware website